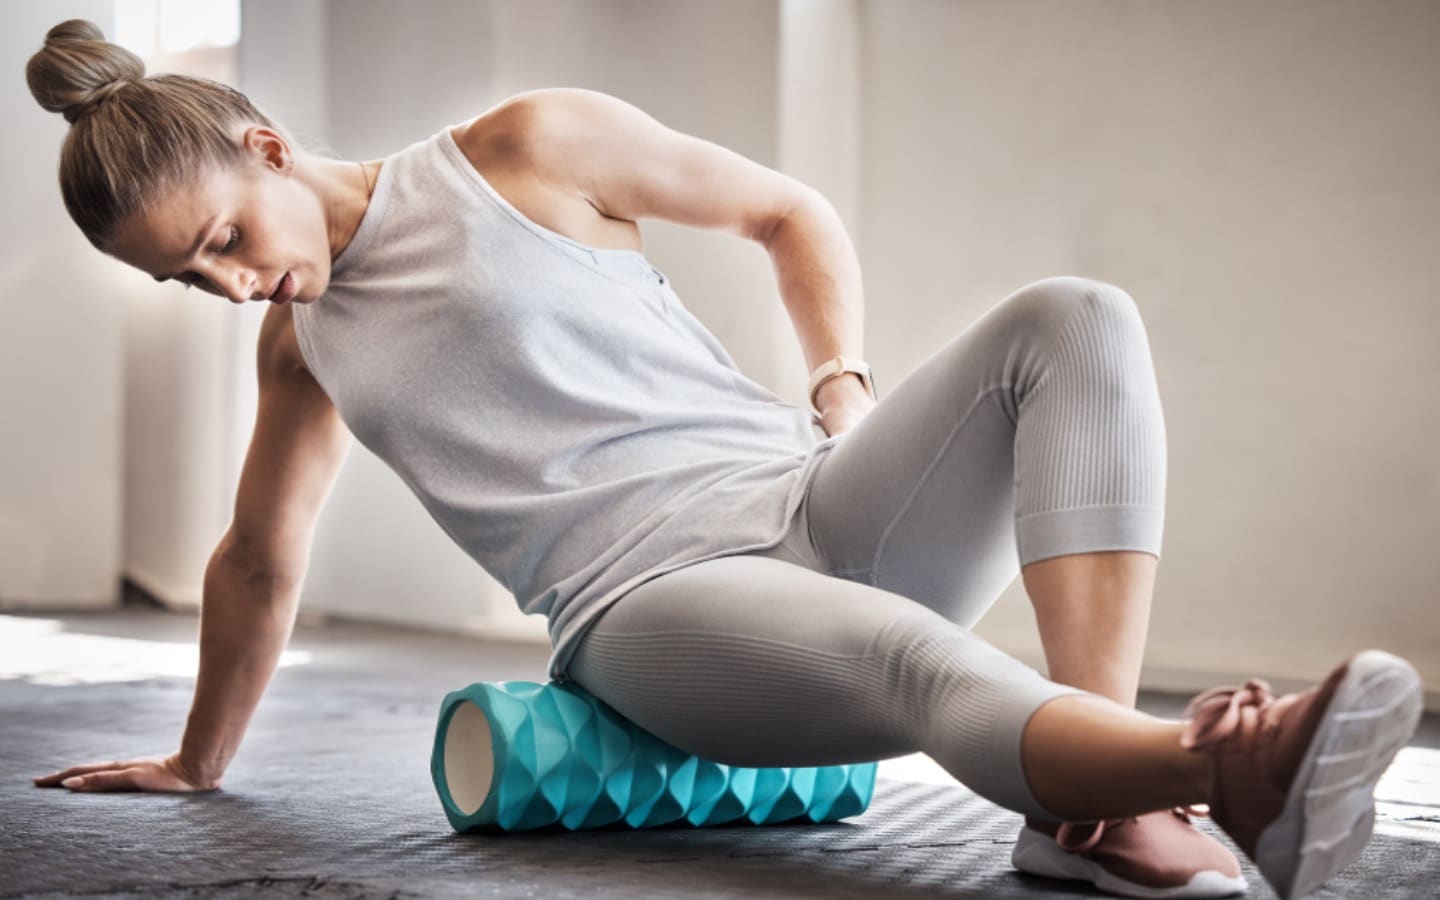
Foam Rolling Recovery
Foam rolling has become one of the most popular methods of self-myofascial release, and is frequently prescribed by fitness professionals, physical therapists and orthopedic doctors. After just one experience with foam rolling, most of us can recall the “good discomfort” it elicits, often accompanied by a feeling of immediate ease in muscle tension.
But if you are, like me, obsessed with evidence-based practice, here’s a quick overview of a few recent scientific studies investigating the efficacy of foam rolling, its best application, and potential mechanisms.
1. Foam Rolling before a workout can give you a (very) temporary increase in joint range of motion, without negatively affecting muscle strength or power(1).
Pre-rolling also showed a small positive effect on sprinting performance.
2. Foam Rolling has a significant effect on your perception of muscle recovery following a workout (1, 2).
Incorporating gentle foam rolling into your cool-down routine could help minimize delayed-onset muscle soreness.
3. There are no universal optimal parameters for equipment choice, application location, or duration, BUT the applications that have yielded the best results according to a 2019 literature review (3) are:
- 30-120 second sessions, 1-3 sets with ~30 sec rest between
- Moderate intensity rolling movements, at least 3 seconds in duration
- Rolling over more sensitive areas* increases perfusion and relieves tension in those areas**
4. Lastly, besides the obvious mechanical stimulus to the musculoskeletal and vascular systems, foam rolling also has a relaxing effect on your nervous system.
Flexibility increases have been observed on the side OPPOSITE to that of application (4) – i.e. foam rolling LEFT quads led to a measurable temporary increase in RIGHT knee range of motion, too.
*Avoid areas that are painful against the roller, as well as bony prominences.
**Consult your PT before embarking on a foam rolling routine if you are in pain or recovering from an injury.
Start Here with a few self-mobilization exercises:
1. Gluteal and figure 4 position (30-60 sec each side)
Sit on the roller and make gentle circular motions each direction. Supporting yourself with your hands behind you, cross one ankle over the opposite knee, lean gently toward the lifted side, and continue to roll in small circular motions over the back of the hip/gluteal area.
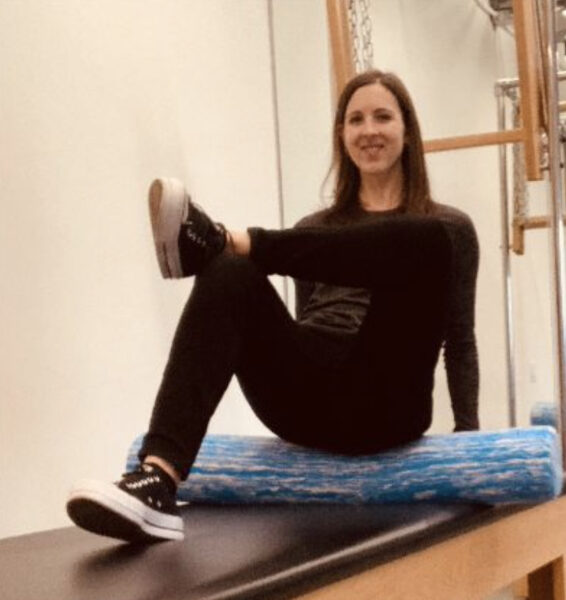
Gluteal and figure 4 position
2. Calf release (30-60 seconds each side)
Sit behind the roller with the muscly-est part of your calves on top of the roller. Cross one leg over the other to increase pressure on one calf against the roller, press down into your palms behind you to gently lift your hips, and roll in small circles clockwise then counterclockwise, 15-30 seconds each direction.
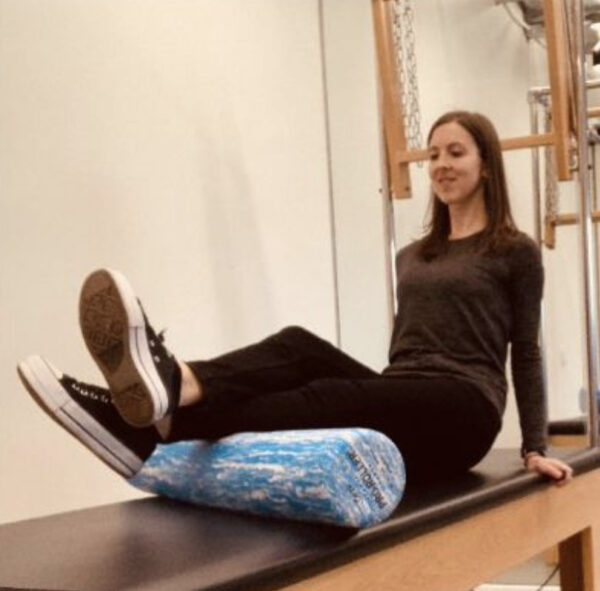
Calf release
3. Sub-occipital release (1-2 minutes)
Place the foam roller underneath the back of your neck, perpendicular to your spine. Gently nod your chin down just one millimeter until you feel gentle pressure at the muscles near the base of the skull. If comfortable, move your chin in slow, small-range ‘yes’ and ‘no’ motions, nodding and/or moving slightly side to side for 30-60 seconds.
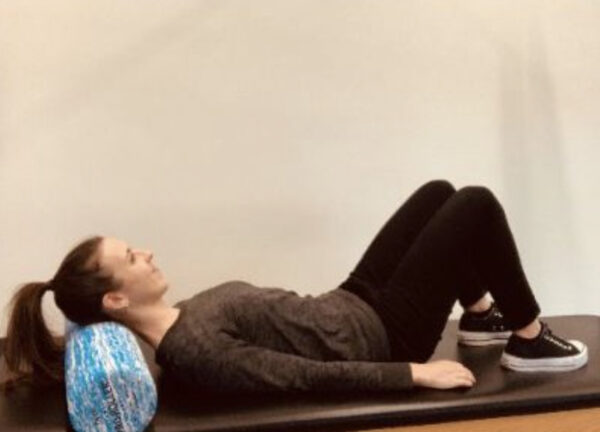
Sub-occipital release
By Joanna Binney